
Below are the steps on how to put your Bluebird House together
Contents
- 1 Step 1: Unpack all the parts – which will look something like this
- 2 Step 2: Nail the back to the other side using the pilot holes
- 3 Step 3: Now that the back is nailed on – stand it up and place the top on – and nail that in place using the pilot holes as pictured below
- 4 Step 4: Flip it all the way over so that its resting on the top and nail the bottom in place using the pilot holes as pictured below.
- 5 Step 5: Last step – Nail the front on – lay the birdhouse on its back – place the front on top and nail it in place in the pre drilled holes
- 6 Finished Kit should look something like this
- 7 Related
Step 1: Unpack all the parts – which will look something like this

Start with the back and two sides –
Place the Sides facing down like drawing below and Nail the back to the sides.
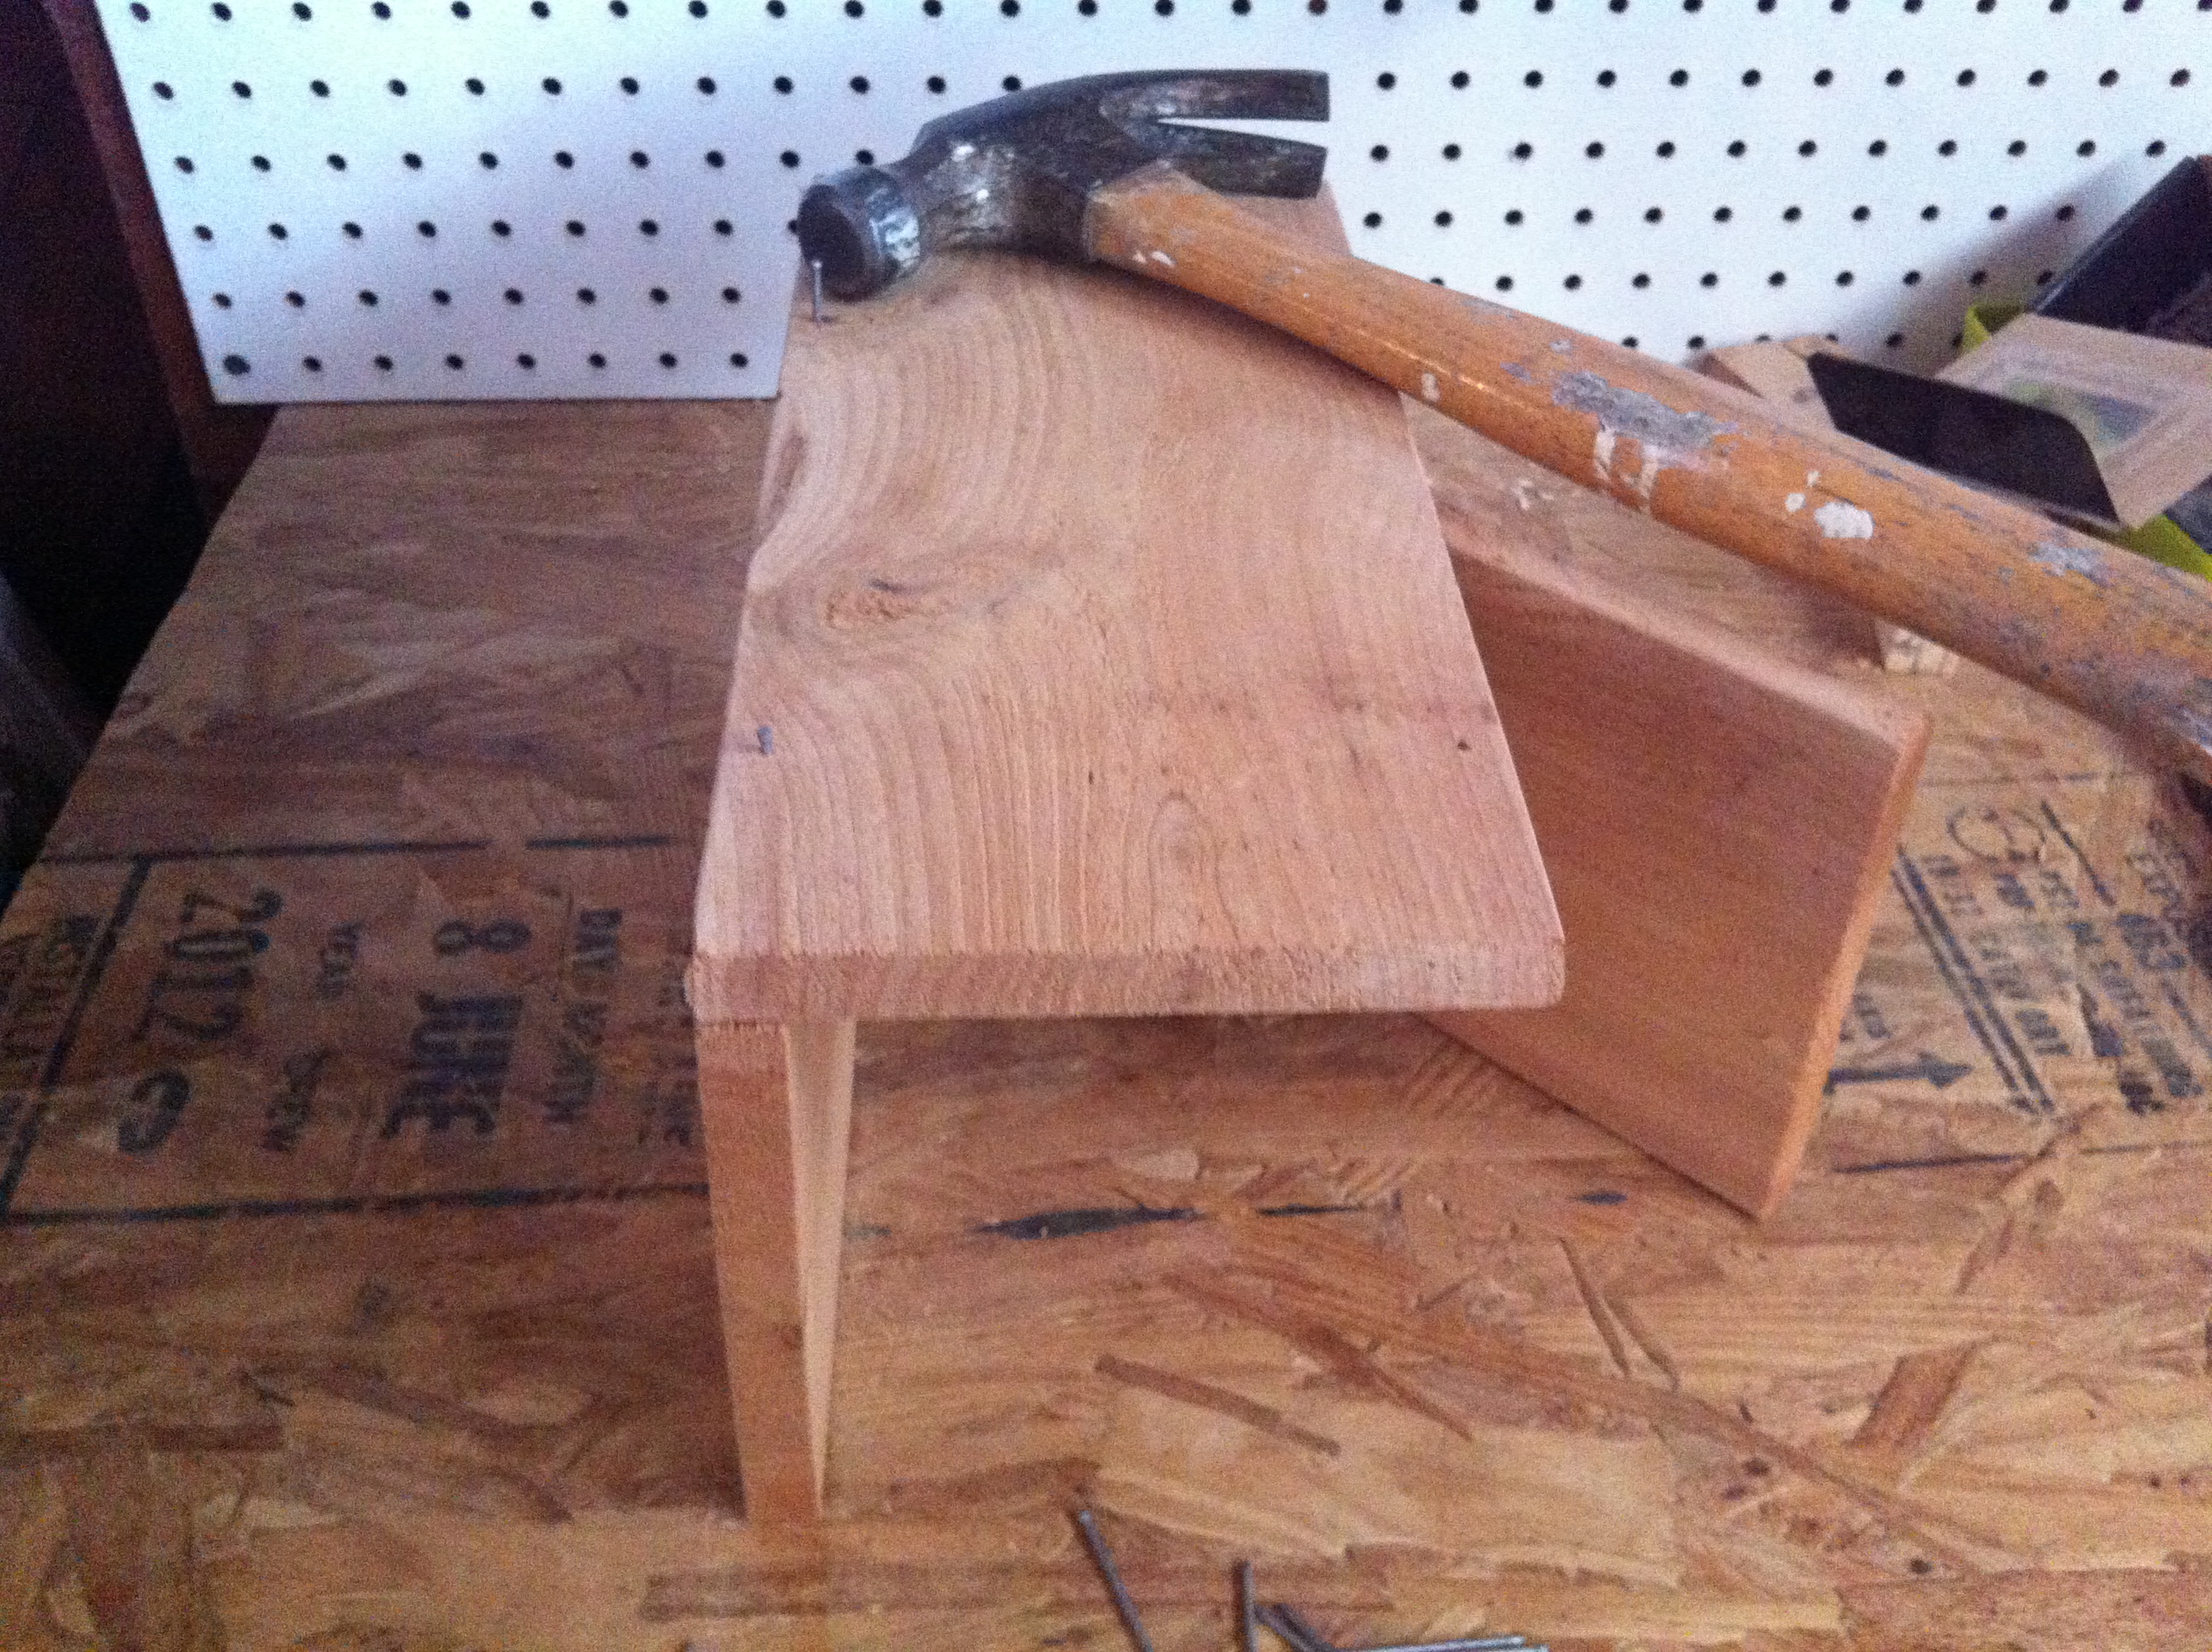
 You can tilt one of the sides out like in the picture below to support it while nailing
Step 2: Nail the back to the other side using the pilot holes

Step 3: Now that the back is nailed on – stand it up and place the top on – and nail that in place using the pilot holes as pictured below


Step 4: Flip it all the way over so that its resting on the top and nail the bottom in place using the pilot holes as pictured below.

Step 5: Last step – Nail the front on – lay the birdhouse on its back – place the front on top and nail it in place in the pre drilled holes

Finished Kit should look something like this


